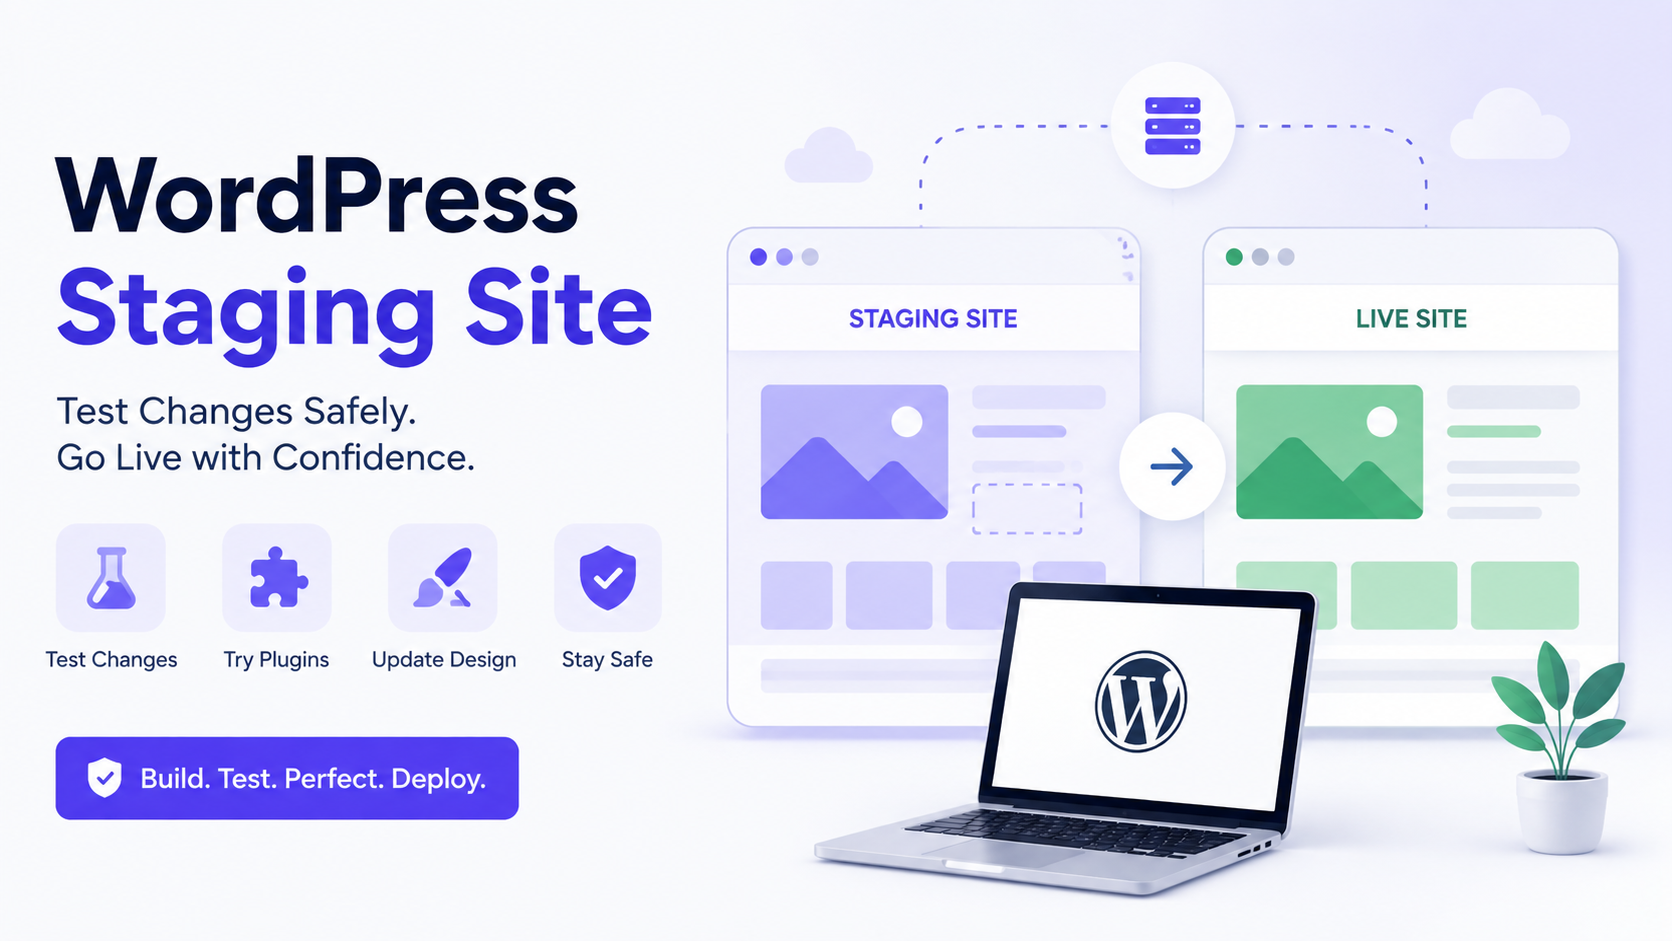
Every WordPress owner eventually reaches a point where they need to make a change that feels risky. Maybe it’s a major theme redesign, a batch of plugin updates, or new custom code that touches checkout functionality. Making that change directly on a live website means visitors see every mistake in real time, and there’s no undo button once something breaks.
A WordPress staging site solves a specific part of that problem. It gives you a separate space to test changes before anyone else sees them, so mistakes happen somewhere private instead of on the site your customers or readers are actually using.
Direct Answer
A WordPress staging site is a separate copy of your website used to test updates, design changes, plugins, or code before applying them to your live site. It typically mirrors your live environment closely enough for realistic testing, though the exact setup and features vary depending on your hosting provider or staging method.
Key Takeaways
-
A staging site is a testing environment, not a backup, and the two serve different purposes.
-
Staging lets you test updates, themes, plugins, and code changes without affecting live visitors.
-
Not every hosting provider offers built-in staging, and the tools available vary in features and ease of use.
-
Staging is most valuable before major or technical changes, not for every small text edit.
-
Moving changes from staging to live requires understanding what data might be overwritten in the process.
-
A staging environment should still be supported by a current backup before any live deployment.
-
Testing in staging reduces risk but does not remove the possibility of something going wrong after deployment.
What Is a WordPress Staging Site?
A staging site is a separate, typically private copy of your WordPress website where you can experiment with changes without those changes appearing on the version visitors actually see. It exists specifically to answer the question: does this change work correctly before I commit to it?
This is different from a few other terms that get used loosely. Your live website is the version the public accesses. A local development environment is a copy of WordPress running on your own computer, often used by developers before anything touches a server at all. A backup is a saved copy of your site intended for restoration, not testing. A staging site sits in its own category: a working, testable version of your site that exists temporarily or semi-permanently alongside the live one.
Consider a website owner who wants to update several plugins at once and redesign a key landing page. Rather than making these changes directly on the live site, they set up a staging environment, apply the updates and design changes there, confirm everything works, and only then move forward with the live site. This is the core value of staging: a controlled space to find problems before they matter.
Staging does not automatically mirror every change made to the live site in real time. Depending on the method used, staging environments may need to be manually refreshed or recreated to reflect the current state of the live website.
How Does a WordPress Staging Environment Work?
At a basic level, a staging environment involves creating a copy of your website, including its files and database, in a separate location or under a separate, usually password-protected URL. Changes are then made and tested within that copy.
The general process looks like this: a copy of the site is created, changes are applied and tested within that copy, functionality is reviewed for conflicts or errors, and once everything checks out, the approved changes are applied to the live environment. The exact mechanics of that last step, how changes move from staging to live, vary significantly depending on the hosting provider or staging tool being used, which is a detail worth understanding before you rely on any particular method.
WordPress Staging Site vs Live Website
The live website is the version that visitors, customers, and search engines interact with. Every change made here is immediately visible and immediately consequential.
The staging website is a private testing environment, usually inaccessible to the public or protected behind a login, where changes can be reviewed before they reach that live audience.
The reason this distinction matters is straightforward: changes made directly on a live website can affect visitors in real time. A broken plugin update can take down checkout functionality mid-purchase. A theme change gone wrong can distort layouts for everyone currently browsing. Forms can stop submitting, page speed can degrade, and none of this becomes visible to you until a visitor reports it or you happen to notice. Testing in staging first means these risks play out somewhere nobody but you can see.
WordPress Staging Site vs WordPress Backup
This distinction trips up a surprising number of website owners, so it deserves direct treatment.
A backup is a saved copy of your website’s files and database, intended primarily for restoration if something goes wrong. Its purpose is recovery: if your live site breaks, gets corrupted, or is compromised, a backup lets you rebuild it to a previous working state. A detailed breakdown of what a complete WordPress backup should include covers this in depth.
A staging site is a testing environment, not a recovery mechanism. Its purpose is to let you experiment with changes before they go live, not to serve as your safety net if the live site fails. A staging site is not automatically kept up to date the way a scheduled backup might be, and depending on the method used, it may not even capture a complete, restorable copy of your site’s current state.
Treating a staging site as your only backup is a mistake for a simple reason: staging environments are often created once and left stale, are sometimes hosted in less secure or less monitored conditions than production backups, and are not designed with restoration workflows in mind. A solid staging habit and a solid backup habit are both useful, but they answer different questions and neither one replaces the other.
Why Use a WordPress Staging Site?
The core benefit is straightforward: staging separates the risk of testing from the certainty of visitor impact. It gives you room to make mistakes, notice them, and fix them before they cost you anything in terms of visitor trust, sales, or search visibility.
Staging is particularly useful when a change involves multiple moving parts, such as several plugin updates applied together, since conflicts between plugins are far easier to diagnose in an isolated environment than on a live site under normal traffic.
When Should You Use a Staging Site?
Staging earns its value most clearly in situations where something could realistically go wrong.
Before updating WordPress. Core updates occasionally introduce compatibility issues with older themes or plugins. Testing the update in staging first, as part of a broader approach to update WordPress safely, catches these issues before they reach visitors.
Before updating plugins or themes. Especially when applying several updates at once, staging lets you isolate which update, if any, caused a problem.
Before changing website design. Redesigning a page, changing a theme, or adjusting layout structures can shift things visitors depend on, from navigation to checkout buttons.
Before editing code. Direct edits to theme files, functions.php, or custom plugins carry real risk of breaking the entire site if a single syntax error slips through.
Before installing new features. New plugins, especially those handling forms, payments, or membership logic, deserve a test run before going live.
Before major website changes. Migrations, significant configuration changes, or anything touching how the database interacts with your site benefits from a staging test first.
How to Create a WordPress Staging Site
There are three general approaches, and the right one depends on your hosting setup and technical comfort level.
Method 1: Using Your Hosting Provider
Many managed WordPress hosts include built-in staging tools, often accessible through a single button in the hosting dashboard. These typically create a copy of your live site within the same hosting account, let you make changes in that copy, and offer some form of push-to-live deployment once you’re satisfied.
The convenience here is real: no plugin installation, no manual file copying, and often an integrated way to move approved changes to production. That said, not every host offers this feature, and among those that do, retention periods, deployment options, and ease of use vary considerably. Checking your specific host’s documentation is the only reliable way to know what you’re working with.
Method 2: Using a WordPress Staging Plugin
Staging plugins create a separate testing environment without requiring you to rely on hosting-level tools. Options such as WP Staging and All-in-One WP Migration are commonly used for this purpose, and each has setup documentation on its official website.
Rather than comparing every plugin available, the more useful approach is checking whether a given plugin supports creating an accurate copy of your site, testing changes in isolation, and a clear, documented way to push approved changes live.
Method 3: Creating a Manual Staging Environment
A manual staging setup generally means creating a separate WordPress installation, either in a subdomain, a subdirectory, or on a separate server, and populating it with a copy of your live site’s files and database.
This approach offers more control but requires more technical comfort, since you are responsible for keeping the environments in sync and understanding how to move changes between them without a plugin or hosting tool handling that process automatically. It’s a reasonable option for developers or technically confident owners, but it is not the easiest starting point for most website owners.
What Should You Test on a WordPress Staging Site?
Testing should focus on whatever the change actually affects, but a general checklist covers the areas most likely to reveal problems:
-
Core website pages, including the homepage and key landing pages
-
Navigation menus and internal links
-
Contact forms and any other form submissions
-
Login and account functionality
-
Plugin behavior, especially after updates
-
Theme appearance and layout across different pages
-
Mobile responsiveness alongside desktop display
-
Page layout consistency after design changes
-
Important user journeys, such as signup flows or checkout steps
-
WooCommerce functionality, including cart, checkout, and payment processing, if applicable
-
Site performance after significant changes
-
Any visible error messages or broken elements
Testing every single feature on every occasion is unnecessary. Focus on what the specific change touches, and expand testing when a change affects multiple interconnected parts of the site.
How to Move Changes from Staging to the Live Website
Deployment methods vary depending on your staging setup. Some hosting tools and plugins offer a direct push from staging to live, transferring files and database changes automatically. Others require manually recreating changes on the live site, which is more time-consuming but gives you precise control over what gets applied. Selective deployment, where only certain files or database tables are moved, is also possible with some tools, particularly useful when you want design changes without overwriting content.
The detail that deserves the most attention here is understanding exactly what data might be overwritten during synchronization. If your live website has continued receiving orders, new comments, form submissions, or new content while you were working in staging, a full push from staging back to live can overwrite that new data with the older staging version. This risk is especially relevant for WooCommerce stores processing orders, membership sites with active user registrations, community sites with ongoing comments or posts, and any site collecting form submissions regularly. Before deploying, confirm whether your staging tool supports selective deployment or whether a full sync is your only option, and plan accordingly.
What to Do Before Pushing Changes Live
-
Review the changes made in staging carefully, comparing them against what was intended.
-
Test the functionality most affected by the change, using the checklist above as a guide.
-
Confirm that the staging version behaves correctly across the pages and features involved.
-
Create or confirm an up-to-date backup of the live website before deploying anything.
-
Understand exactly what live data could be overwritten by the deployment method you’re using.
-
Choose a deployment time that minimizes disruption if any downtime or visible changes are expected.
-
Check the live website immediately after deployment to confirm everything transferred correctly.
Following this process reduces risk considerably, but it does not guarantee a flawless outcome every time. Server environments, timing, and unexpected interactions between plugins can still produce surprises after deployment, which is why checking the live site immediately afterward matters. If something does go wrong post-deployment, having a clear approach to WordPress site recovery helps you diagnose and fix the issue methodically rather than guessing under pressure.
Common WordPress Staging Mistakes
-
Treating a staging site as a substitute for a proper backup.
-
Forgetting that the live website’s data, such as orders or comments, keeps changing while staging work is in progress.
-
Skipping tests on the most important functionality, like checkout or login, in favor of only checking visual appearance.
-
Pushing untested or partially tested changes live under time pressure.
-
Ignoring forms and multi-step user journeys during testing.
-
Testing only on desktop and skipping mobile responsiveness checks.
-
Leaving staging sites publicly accessible, especially when they contain real customer data or content.
-
Assuming staging and production environments are identical when server configurations or PHP versions may differ.
-
Overwriting newer live data by pushing an outdated staging copy without selective deployment.
-
Making changes directly on the live site out of habit, even when a staging test would have been quick to set up.
Publicly exposed staging environments deserve particular attention, since they can carry the same content and, in some cases, the same vulnerabilities as your live site. Applying the same baseline of WordPress website security to your staging environment, including password protection and access restrictions, closes off an entry point that’s easy to overlook.
Do You Need Staging for Every Change?
No. Staging is valuable in proportion to the risk and complexity of the change you’re making. A simple text correction, a minor image swap, or a small styling tweak rarely justifies the overhead of a full staging test.
Staging earns its place before changes with real potential to break something: major updates, new plugins, code edits, theme changes, or anything touching checkout, forms, or user accounts. The general principle is matching your level of testing to the level of risk involved, rather than applying the same process uniformly to every change regardless of size.
A Simple WordPress Staging Workflow
-
Identify the specific change you plan to make and its potential impact.
-
Create or update your staging environment so it reflects the current live site.
-
Make the intended change within staging.
-
Test the pages and functionality affected by that change.
-
Review the results and confirm everything behaves as expected.
-
Create a current backup of the live website before deploying anything.
-
Deploy or manually recreate the approved changes on the live site.
-
Check the live website immediately after deployment to confirm the change applied correctly.
This workflow is a reasonable default, but the exact steps can shift depending on your hosting environment, the staging method available to you, and how your site handles live data. Sites with high-frequency changes, such as active stores, may need extra care around what data staging might overwrite. Sites planning to speed up a WordPress website through caching or theme changes are a good example of where this workflow pays off, since performance changes often touch code and configuration in ways worth testing before they reach live visitors.
WordPress Staging Checklist
-
Confirm whether your hosting provider offers built-in staging tools.
-
Choose a staging method that matches your technical comfort level.
-
Create a staging copy that reflects your current live site before testing.
-
Test the specific pages and functionality affected by your planned change.
-
Check forms, login flows, and any checkout or membership functionality involved.
-
Confirm how deployment works for your staging method, including what data might be overwritten.
-
Create a current backup of the live site before deploying staging changes.
-
Restrict public access to your staging environment.
-
Check the live website immediately after any deployment.
Conclusion
A WordPress staging site gives you a genuine way to test changes before they reach real visitors, but it works best as one part of a broader approach to managing a website rather than a standalone safety measure. Understanding the difference between staging, backups, and your live environment, testing the functionality that actually matters, and paying close attention to what happens during deployment are what turn staging from a nice-to-have feature into a reliable habit. None of this eliminates risk entirely, but it consistently shifts problems away from your live visitors and toward a space where you can catch and fix them first.

Jigar Pandya
Jigar Pandya is a Technology and WordPress professional with over 6 years of experience building and improving websites. His work covers WordPress development, website performance, and modern web technologies, with a focus on creating websites that are fast, reliable, and easy to use.