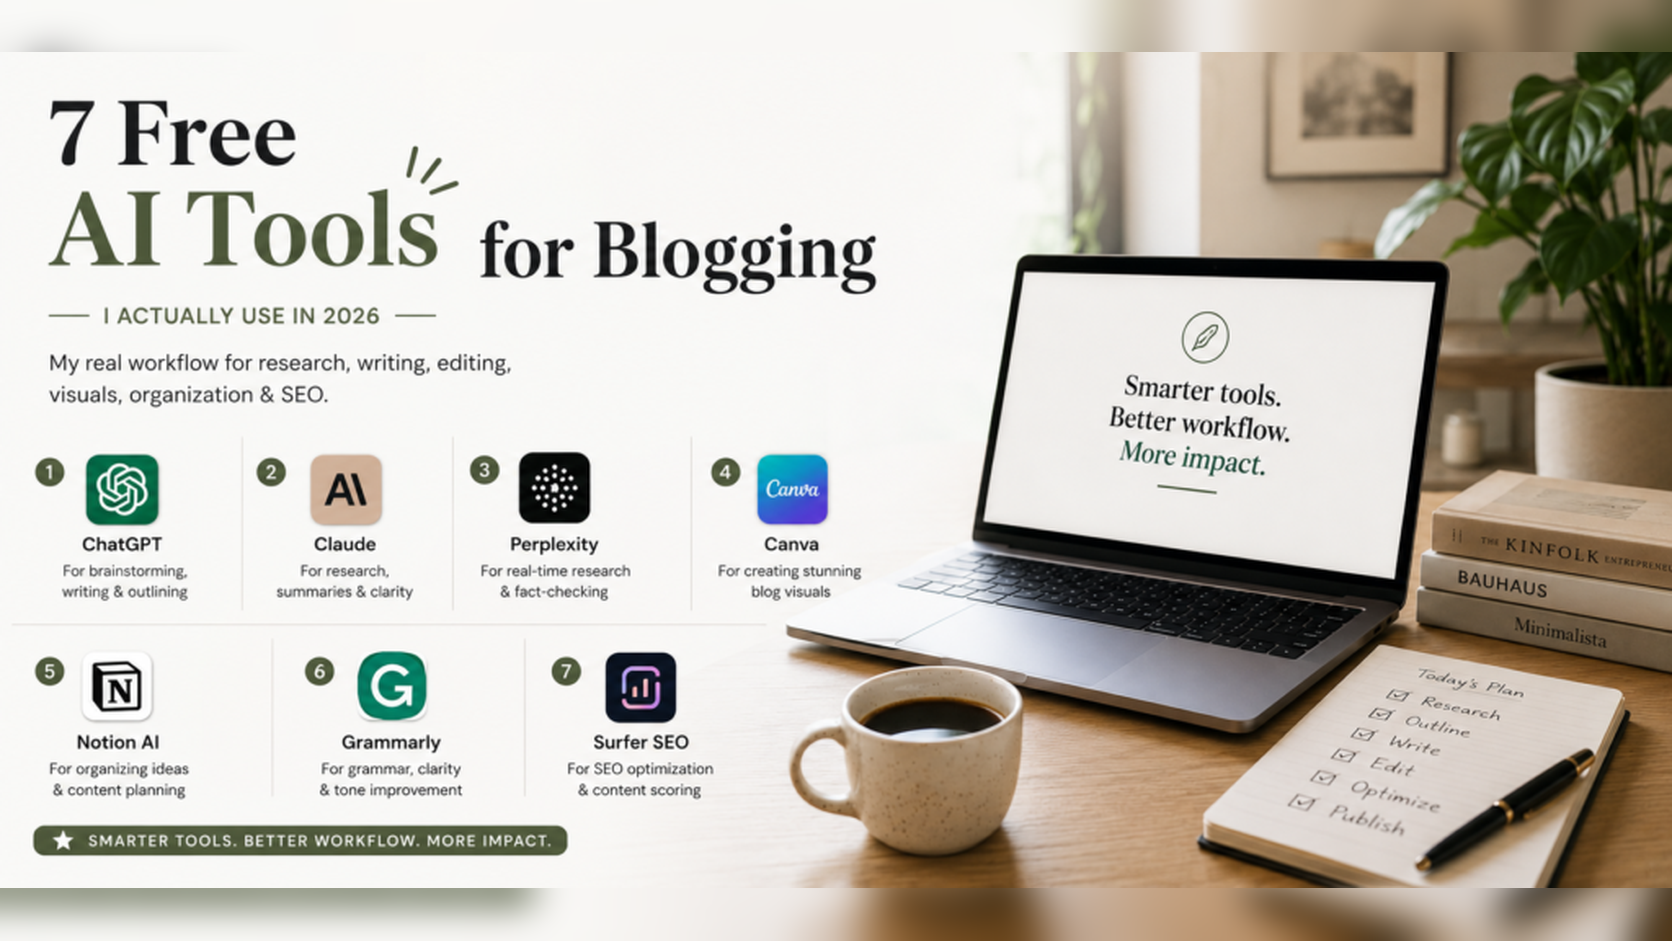
What are the best AI tools for bloggers? The best tools are the ones that help you write faster, research better, edit cleaner, and publish consistently without making your content sound robotic. If you are starting a blog, you do not need dozens of tools. You need a simple workflow that covers ideas, writing, fact-checking, visuals, editing, and basic SEO.
In this guide, I’ll break down the AI tools bloggers actually use, including ChatGPT, Claude, Perplexity AI, Canva AI, Notion AI, Grammarly, and Surfer SEO. Each tool has a different role. Some are better for drafting blog posts, while others help with research, content planning, design, grammar, or ranking on Google. I’ll explain what each tool does, where it fits in your blogging process, its pros and cons, and which ones are worth using first if you are a beginner.
1. ChatGPT — The One Most Bloggers Start With (For Good Reason)
ChatGPT is an AI writing assistant made by OpenAI that helps bloggers brainstorm ideas, write outlines, draft full posts, and repurpose content across formats. It is the most versatile and widely used AI writing tool for blogging available today.
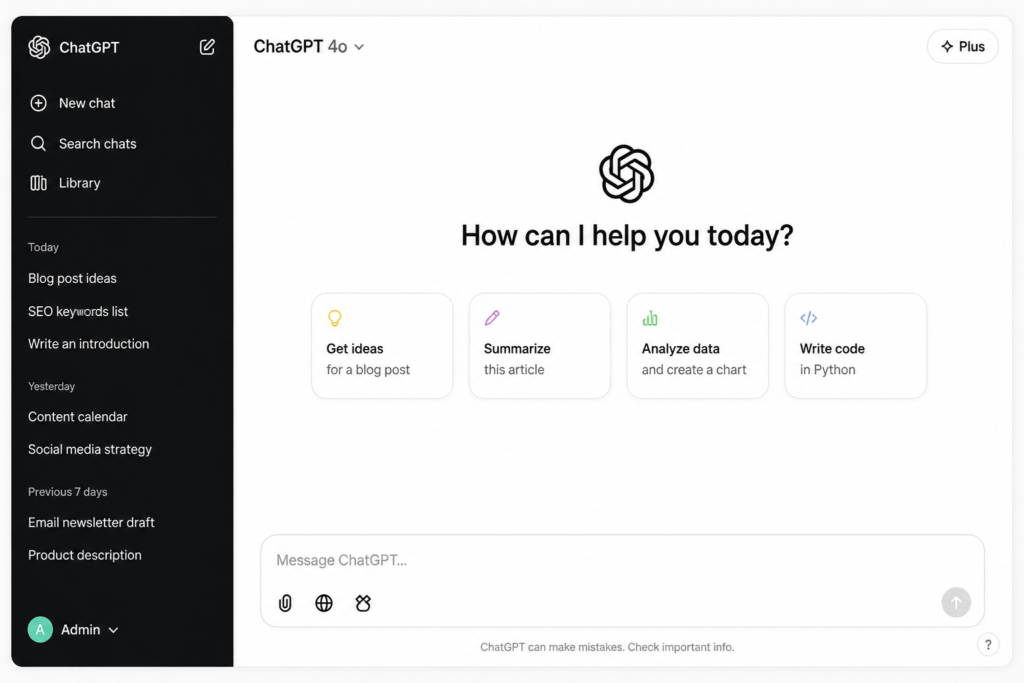
ChatGPT is an easy-to-use AI writing assistant from OpenAI. It excels at brainstorming ideas, writing outlines, drafting posts, and quickly repurposing content. It is the most versatile and popular AI writing tool for bloggers today.
ChatGPT needs little introduction; most people know this tool. I’ll focus on its main use cases and a common mistake beginners make.
When new content writers or bloggers get excited, they often type vague requests like “Write me a blog post about productivity,” only to find the output is generic and lifeless. That’s not ChatGPT’s problem. That’s a prompting problem everyone will face at the starting point.
I made the same mistake when I first started using it. I gave it almost no context and expected a completed post. After seeing the result, I thought, “Something—I’d never publish my content.” I slowly started giving it detailed prompts: my niche, my audience, my angle, my tone, and every minor detail; the outputs became genuinely useful starting points
The keyword is the starting point for ChatGPT drafts. You can edit and personalize, and you can add your own experience. That’s the workflow that actually works.
The first time I did this for a 1,500-word post, what used to take me five hours took about two. That’s the real value here.
Pros:
- Handles almost every blogging task with the right prompt
- The free plan is genuinely usable for bloggers publishing two or three times a week
- The custom GPTs feature lets you create a niche-specific writing assistant trained on your style
Cons:
- Vague prompts produce vague outputs every time
- Makes up facts confidently, so you have to verify everything before publishing
- Free plan rate limits kick in faster than you’d expect during heavy use
Beginner tip: Before asking ChatGPT to write anything, spend two minutes writing out exactly who your reader is, what problem they have, and what tone you want. Paste that context into every prompt. Your outputs will improve immediately.
2. Claude — The One I Reach for When a Post Really Matters
Claude is an AI writing assistant made by Anthropic that outperforms most other tools for long-form blog content. It maintains consistent tone, follows detailed instructions more reliably, and produces cleaner drafts with less editing needed compared to ChatGPT for posts over 1,500 words.
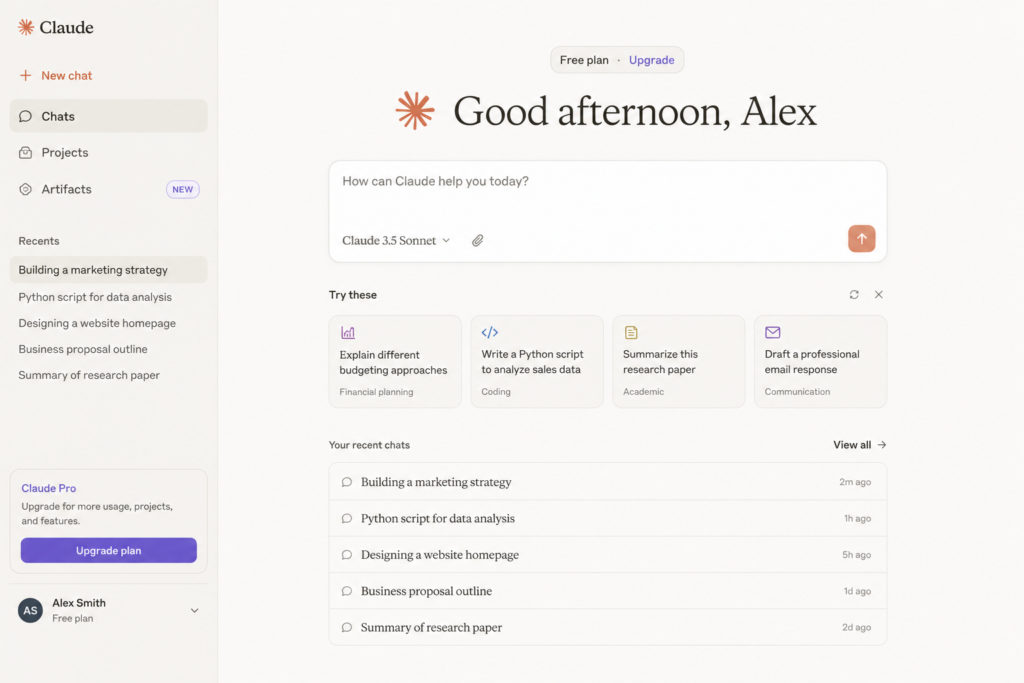
This is something that the majority of new bloggers do not understand. Different AI Writing Tools Work Differently: Both ChatGPT and Claude are great, but they excel at different things. Right off the bat, you can tell once you attempt to write something longer than 1000 words.
I observed this phenomenon while preparing a comparison post in detail. Around the halfway mark, it felt like something started to change in terms of tone, and some parts did not feel connected to one another with ChatGPT. Claude kept a much better thread from start to finish when I gave the same brief. It read more like one person than multiple writers.
That is what context studies recognize more than humans. Readers sound out when a setup feels inconsistent even if they can’t quite explain it. And Google’s excellent command word, too.
How bloggers use Claude in their workflow:
- Writing in-depth guides and tutorials that need to stay focused across 2,000 or more words
- Rewriting and improving existing drafts without losing the original voice
- Turning messy research notes into clean, structured content ready for editing
- Getting well-organized outputs without needing to engineer complicated prompts
Real blogging use case: You spent an hour researching the topic. You have notes, a rough outline, some information you entered, and a prevailing sense of the angle you want. You paste everything into the cloud and ask it to write a full proposal based on all your content. The end result needs editing, and yet it is consistent, perfectly placed, and close to publishable, which is almost anything ChatGPT generates from a similar input of that length.
Pros:
- Noticeably better at maintaining tone and structure across long articles
- Follows complex, detailed instructions without cutting corners or simplifying them
- The free plan is generous enough for regular weekly use
Cons:
- No built-in SEO features of any kind
- Doesn’t browse the web in real time on the free or basic plan
- A smaller user community means fewer beginner tutorials compared to ChatGPT
Pricing: Free plan available. Claude Pro is $20 per month. Official website: claude.ai
Best for: Bloggers writing long-form guides, detailed affiliate reviews, or educational content where depth and consistency matter.
Beginner tip: Give Claude your outline and your research notes together in one prompt. Ask it to follow your structure exactly. It will. That level of instruction-following is where it genuinely outperforms other tools.
3. Perplexity AI — The Research Tool I Wish I Found Earlier
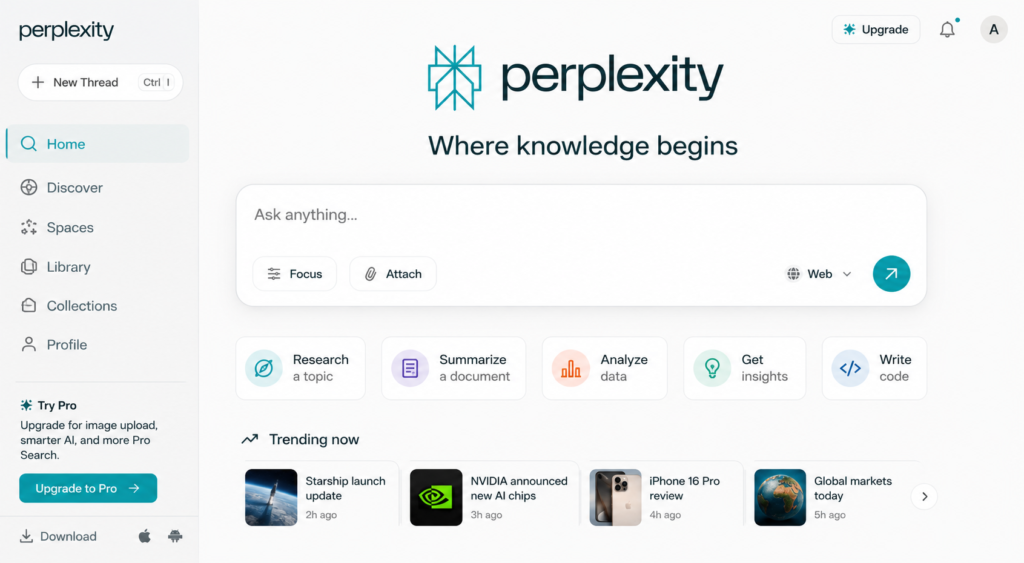
Perplexity AI is an AI-powered research tool that answers questions with cited, verifiable sources. Bloggers use it to find accurate statistics, fact-check claims, and research topics without spending hours manually searching Google and cross-referencing multiple websites.
Here is something no one ever clearly mentions when starting a blog as a beginner.
Here are a few examples of AI tools designed for writing fiction. ChatGPT does it. Claude does it. They refer to it as “hallucination”; that is, they generate factual data, statistical information, and source names, all of which appear totally genuine but are in fact completely fabricated.
I posted earlier that Stanford has published data on the subject. Two days after that, a reader wrote to ask me for the link. So I went to look for it, and the study didn’t exist. ChatGPT had invented it. That was an embarrassing lesson I only learned once.
These days, before writing anything about authoring good new music, I research using Perplexity AI. You ask it a question, and instead of serving you up ten blue links to click through, it gives you an answer in human language with citations. All of the sources you can click on and verify that they do exist. For bloggers in niches where precision matters, that will obviously change everything.
How I actually use it:
I open Perplexity before I write anything. I will quote the core question my post is trying to answer. I go through the reply and its sources. I click through to verify the ones I want. Then I take notes, and those verified facts flow into my writing. The research step that used to take me 45 minutes now takes less than a third of the time-about 10 minutes. go
The honest pros:
- Every claim comes with a real clickable citation
- Dramatically reduces the risk of publishing inaccurate information
- Free plan covers most research needs for beginners without hitting daily limits
The honest cons:
- It is purely a research tool. You still have to do all the actual writing yourself.
- Very niche or obscure topics sometimes pull from weaker or outdated sources so always check the date on citations
- Heavy daily research use eventually requires the Pro plan
Pricing: Free. Perplexity Pro is $20 per month. Official link: perplexity.ai Best for: Any blogger in health, finance, technology, or any niche where publishing wrong information damages your credibility.
Beginner tip: Use Perplexity before you open ChatGPT or Claude. Research first, write second. The quality of your content depends entirely on the quality of the information you put in.
4. Canva AI—Because Your Blog Needs to Look Good Too
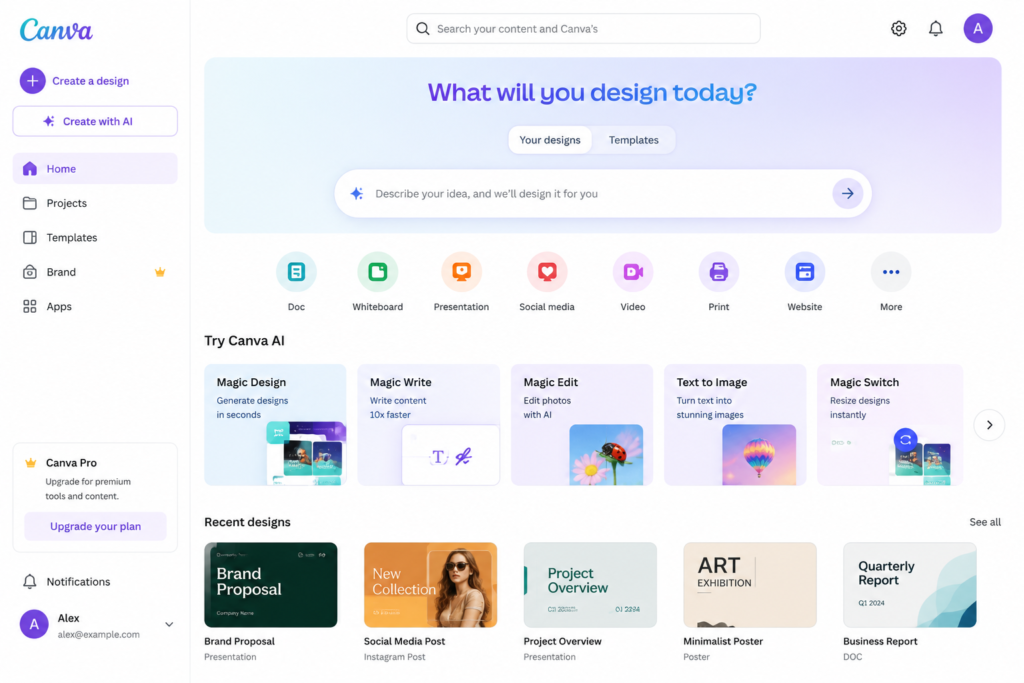
What is Canva AI? Canva is a graphic design tool with built-in AI features, including text-to-image generation, Magic Design, and one-click background removal. Bloggers use it to create featured images, Pinterest pins, and social media graphics without any design experience.
I am not a designer. So I want to make sure that is clear.
I would literally spend 45 minutes working on a featured image and arrange something that looked like it was created in 2009 before Canva came along. For a time, I even paid for designers on Fiverr, but that can get expensive quick when you’re publishing every week!
This was a game-changer for me and Canva AI. The Magic Design feature specifically. You enter your blog post title, it makes a bunch of different layouts, and you select one that suits the look you have in mind, change out your brand colors easily (usually with sliders), and tweak font size if necessary, then export. That’s roughly 10 minutes, all-in now.
And Pinterest traffic is real. For real, for bloggers specializing in the tech and AI niches by 2026. I create three Pinterest pins in Canva for each post that I publish, within 20 minutes of it going live. Without this, that workflow would not be possible.
How I actually use it: Featured image first. I duplicate it and rearrange it for Pinterest. I create 2 or 3 variations of each pin with slightly different text angles since not one image will perform the same as another on Pinterest (and you can never know which version is going to take off). At that point, I export everything and schedule the pins, and my visual side of the post is over.
The honest pros:
- The free plan covers everything most beginner bloggers actually need
- Zero design skills required and I mean genuinely zero
- Handles every visual format a blogger needs inside one tool
The honest cons:
- AI-generated images can look similar to other bloggers’ images if you don’t customize your prompts carefully
- It is a visual tool only. Don’t come here for writing or SEO help.
- The best AI image features are locked behind the Pro plan
Pricing: Free. Canva Pro is around $15 per month. Official link: canva.com Best for: Every blogger. Especially anyone using Pinterest as a traffic source.
Beginner tip: Set up a brand kit inside Canva with your colors and one or two fonts saved. Every graphic you make from that point will automatically feel consistent without any extra effort.
5. Notion AI — For Bloggers Whose Ideas Are Everywhere
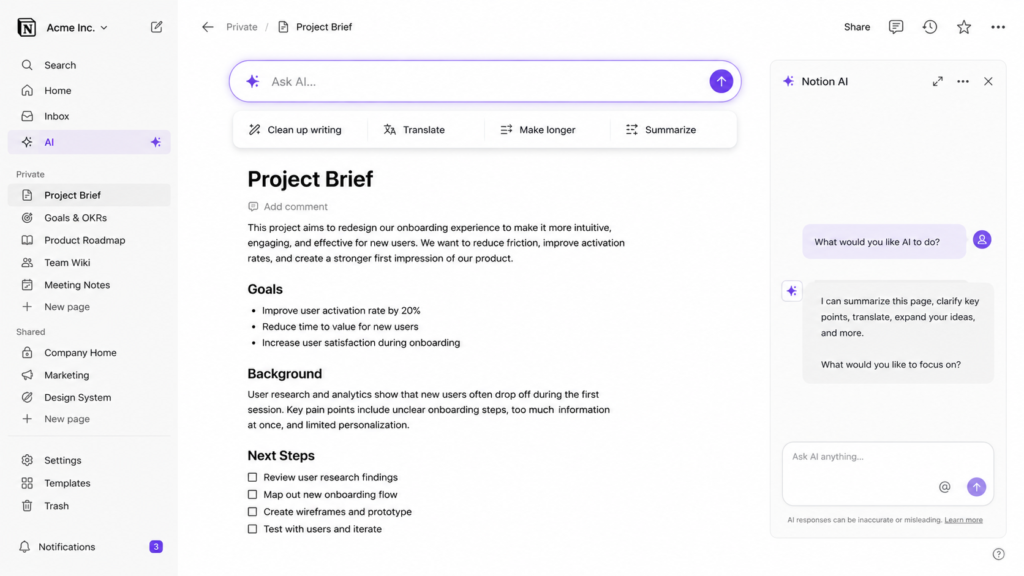
What is Notion AI? Notion is a workspace and productivity app that comes with an integrated AI assistant. Use: Bring together blog content ideas, develop editorial calendars, create outlines for your posts, and draft full blog sections. The main unified workspace that bloggers use.
Okay, I need to tell you something embarrassing.
My blog content system prior to Notion was a notes app on my phone, a Google Doc containing 47 untitled files, and a sticky note stuck to the bottom of my monitor that read “How To Write The SEO Post.” That was my entire system.
I was losing ideas constantly. Because starting posts that I would search for and never find again, publishing things in the incorrect order. This was chaos, and no set of writing tools could overcome the inefficiency I had created for myself.
Notion fixed the chaos first. After which the AI layer turned it into something that actually could be useful for making content too.
Since then, all blog post ideas get entered into a single database. They all have a status, a keyword, a due date, and a content brief. When ready to write, I open the brief and press Ask AI; it takes roughly 30 seconds for me to receive an outline suggestion along with related topics! After which I write the post in that same tool, without switching apps at all.
How I actually use it:
I keep three views of my content database open. One sorted by status so I can see what’s in progress. One sorted by publish date so I can see what’s coming up. And one that just shows me ideas I haven’t started yet for when I need inspiration. The AI helps me turn vague ideas into structured briefs before I start writing.
The honest pros:
- Your entire blogging operation in one organized place genuinely reduces friction
- AI assistance feels natural inside the workflow rather than like a separate step
- Great for planning content clusters and pillar pages once you’re past the beginner stage
The honest cons:
- AI is a paid add-on at $10 per month on top of your Notion plan, which makes it less “free” than the others here
- Not an SEO tool in any meaningful way
- Takes real time to set up properly if you’ve never used Notion before
Pricing: Notion has a free plan. The AI add-on costs $10 per month extra. Official link: notion.so. Best for: Bloggers who feel disorganized and keep losing ideas or momentum between posts.
Beginner tip: Don’t try to build the perfect Notion system on day one. Start with a simple table. Four columns only. Idea, keyword, status, publish date. That’s enough to change how organized you feel immediately
6. Grammarly — The Last Step Before You Hit Publish
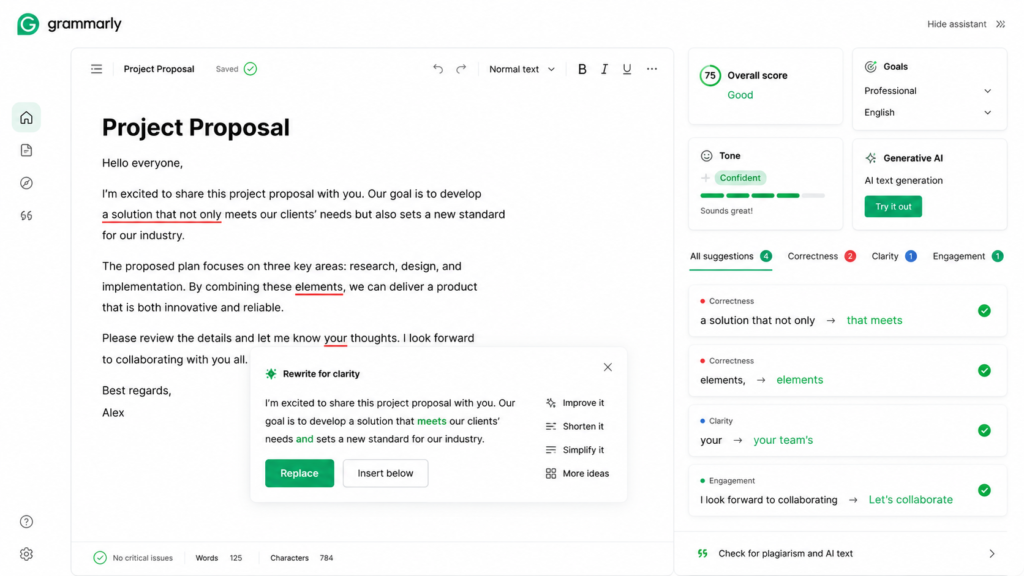
Grammarly is an AI-powered writing assistant that checks grammar, spelling, clarity, tone, and readability. Bloggers use it as a final editing pass before publishing to catch mistakes and improve the quality of their content.
All other tools on this list help you produce content more quickly. Grammarly, however, ensures your output is truly publishable.
I know it’s been available for a long time, and some individuals dismiss it. But here’s what I’ve observed after using it consistently over the last year. Articles I run through Grammarly before publishing experience lower reader drop-off. Fewer mortifying messages pointing out errors. A few times, I reread something later and wince at a clumsy phrase I missed.
It catches what your eyes miss when you review your own material. After you’ve gone over the same piece multiple times, your perception becomes less acute. Grammarly, on the other hand, reviews it with a fresh perspective each time, making the main takeaway clearer.
The recently integrated AI editing functionalities are also quite beneficial. They go beyond mere spell-checking, offering full-sentence revisions that are often superior to my initial writing. While I don’t always accept recommendations, I find myself doing so more often than I anticipated.
How I actually use it:
It’s the final step I take before posting. I paste the entire draft in, walk through every suggestion, and take those that enhance the post’s clarity while ignoring those that deaden my voice. Takes about 10 to 15 minutes. Makes every post noticeably better.
The honest pros:
- Works inside Google Docs, WordPress, Chrome, everywhere you write
- The free plan catches the mistakes that matter most
- Tone detection actually helps maintain consistent voice across a long post
The honest cons:
- Sometimes pushes changes that would make your writing sound more generic. Trust your instincts on those.
- Plagiarism detection requires the Premium plan
- Can be overly aggressive about passive voice even in places where passive voice works fine
Pricing: Free. Grammarly Premium is around $12 per month on annual billing. Official link: grammarly.com. Best for: Every single blogger. I genuinely cannot think of a scenario where this tool doesn’t add value.
Beginner tip: Do not take ALL Grammarly suggestions automatically. Read each one. Go with it if it helps clarify the sentence. If it makes your writing sound less like you, leave it out. The goal is cleaner writing, not perfect grammar that sacrifices your voice.
7. Surfer SEO — When You’re Ready to Get Serious About Ranking
What is Surfer SEO? Surfer SEO is a content optimization tool that analyzes top-ranking pages for your target keyword and gives you a real-time content score as you write. It tells you what your content is missing compared to pages already ranking on page one of Google.
Alright, full transparency here.
Surfer SEO is the most expensive tool on this list and does not come with a free plan. Is this a blogging site (added to a list of free AI tools for bloggers)?
Because I want to be transparent with you and tell you exactly what the free tools are. And when it comes to SEO, that point in time is far earlier than many newbies assume.
My first 15 articles were written with free tools. Some of them ranked. Most of them didn’t. That’s when I started posting with Surfer SEO—and for the first time, I understood exactly why the posts weren’t ranking. I had previously neglected keywords that every competing post had. For some subjects, my text count was too low. My headings didn’t match those of the top-ranked posts.
All of that was explicitly shown to me by Surfer. Not bad advice. Explicit gaps I could plug within a single editing block.
My advice is please don’t start with Surfer. You learn to write and publish repeatedly in the first few months of your life. But jot it down on your to-do list for whenever you are ready to play with Fire and take SEO seriously.
How I actually use it:
I run my target keyword through Surfer’s keyword research before I write. This lets me see which posts have the best rankings, how many words they have, and which words they use a lot. After that, I keep Surfer’s Content Editor open to keep my content score up to date as I add the right terms to my post’s structure.
The honest pros:
- The Content Editor is the best on-page optimization tool I’ve used for blogging
- Even beginners can understand the scoring system quickly
- Integrates directly with Google Docs and WordPress which makes the workflow smooth
The honest cons:
- No free plan at all. This is a real barrier for beginners, and I understand that.
- You still need separate tools for backlinks and technical SEO
- It’s easy to over-optimize chasing a high score and end up with writing that feels stiff
Pricing: Essential plan starts at $99 per month or $79 per month on annual billing. Official link: surferseo.com. Best for: Bloggers who have been publishing for a few months and are ready to focus specifically on ranking in Google search.
Beginner tip: Don’t subscribe to Surfer on day one. Publish your first 10 posts first. Then come back to this tool when you want to understand why some posts rank and others don’t.
What Are the Best Free AI Tools for Blogging Right Now?
If you’re starting from zero and you don’t want to spend any money yet, here is your complete free starter stack.
Use ChatGPT’s free tier for writing outlines and first drafts. Handles two to three posts a week without hitting rate limits too badly.
Claude’s free tier for longer posts where you need consistent tone across a lot of words.
Use Perplexity AI’s free tier for research with real, cited sources before you write anything.
Use Canva AI’s free tier for featured images and Pinterest pins without any design skills.
Grammarly’s free tier is for catching mistakes before every post goes live.
That’s five tools. All free. Covering writing, research, editing, and visuals. That is a genuinely complete blogging workflow, and it costs you nothing to start.
The only tool on this list you eventually need to pay for is Surfer SEO, and that’s only when SEO becomes your main focus. Start free, stay free until you actually need more.
How to Use AI Tools Without Making Your Blog Sound Like a Robot Wrote It
This is the section most people skip and then wonder why their AI-assisted content doesn’t perform well.
Using AI tools the wrong way is actually worse than not using them at all. Here’s what I mean.
Do not publish AI output without rewriting it. No matter the output of ChatGPT or Claude, every draft needs your voice, your take, your lived experience before you hit publish. Readers can tell immediately if you skip this step, even if they cannot articulate exactly what is throwing them off.
To every post, add one personal moment. It doesn’t have to be long. Even a single line like “I first tried this, I was wrong to…” can completely change the ambiance of a section. This lets the reader, and Google, know that a real person experienced this.
Always fact-check and double-check your statistics before going live. I pulled up the Stanford study I referenced, which was not real. Save yourself from my mistake, not from your own. You should only use Perplexity AI for research since it cites its sources.
Say it out loud before you publish the post. If you happen to be at a coffee shop, this sounds quite simple and a little bit embarrassing. Do it anyway. You will be able to spot strange sentences, repetition, and overly long sections. You hear things your eyes do not see.
Stop writing for the algorithm; start writing for the person. There is an irony in using SEO and AI writing tools together: it becomes easy to optimize all the humanity right out of your content. Even if you are a new, relatively novice blogger, answer their actual question. Be specific. Be encouraging; give a real evaluation of what works and what doesn’t.
Final Thoughts: Where Should You Actually Start?
And if you haven’t used any of these tools before, here is my humble recommendation based on my experience with each of them.
Open ChatGPT today if you are a complete beginner. Not tomorrow. Right now. Register for a free plan, then use it to write down the definition in your next post. Before you know it, this whole thing starts with that one small action. Jump to the cloud
Now that you have your outline, research your topic with Perplexity AI. Then use ChatGPT or Claude to draft your piece. Before publishing, put it through Grammarly. Create your feature image using Canva. Once you do it a few times, that whole process will only take two to three hours for a solid 1,500-word post.
The free AI tools for blogging in 2026 are really good enough, actually, to create a real blog. You can also start there without spending a penny. You do not need to use all seven tools at once. And you certainly don’t have to wait for everything to feel tickety-boo before publishing that first post.
Start messy. Improve as you go. The bloggers who actually grew real audiences are the ones who planned the least. They are the first ones to wake up and never sleep.
That’s the whole strategy. Start today.
Found this helpful? Save it for later and come back when you’re ready to add the next tool to your workflow. Every successful blog starts with one post and one tool. Go write yours.

Gunashekar Reddy
Gunashekar is a Digital Marketing and SEO professional with over 5 years of experience helping businesses improve their online presence. His work focuses on SEO, content strategy, and organic growth, using search insights and performance data to build practical digital marketing strategies.